
I’ve had a wooden Ikea hutch for the past twelve years. It was a gift from my parents, and it’s functional, stores a ton of stuff, but it was outdated. The pine color felt very “Holly Hobby” to me, and seemed a bit more “country” than my current decorating style.
If I ever wanted to get my kitchen remodeled, this hutch would definitely have to be sold or redesigned. I’m pretty sure that kitchen remodeling contractors (like the ones at FSBD Interiors), more often than not, have some modern ideas in mind; and I would definitely agree with them, I like modern decor too! Honestly, if I were remodeling my kitchen, I would have done much more than just sell the hutch. I would have totally given it a makeover, starting from painting to changing light fixtures and flooring. Of course, for all these to be done properly and on time, I would have considered hiring a great kitchen remodeler. Without external help, I would probably not be able to even clean the windows. But since I was not up for a total kitchen makeover, the hutch was all that I could show my creativity on.
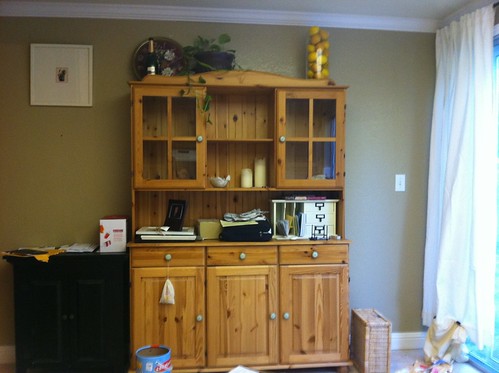
Therefore, I was determined to make it work. It had good lines, and it’s a nice gift. Here’s the old girl, in her naked (ahem, I mean unpainted) glory:
I decided painting was the way to go, sometimes all something needs is a fresh coat of paint to look the part. I came across a couple of inspiration photos to help with direction. I like this white kitchen hutch specifically because of the cute bright yellow interior:

And, then I realized I’d pinned this particular hutch not once, but twice on my Kitchen board. (There are a bunch of other great hutches there, too if you are looking for alternate inspiration!)

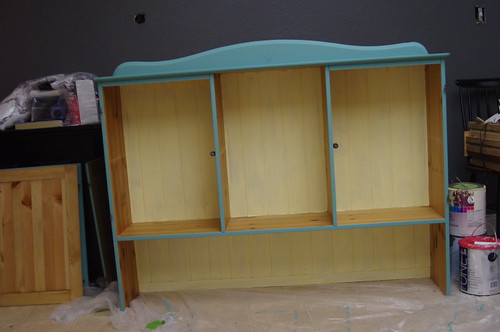
I had my ideas straightened out, and then I started looking for paint colors that would match the fabric for our curtains. I chose a teal, a white, and a yellow.
Next, I decided I loved the super matte look of Chalk Paint. Annie Sloan makes lovely, awesome chalk paint, but it’s pricey. So I searched around and found a recipe for do it yourself chalk paint, and decided to give it a go. I found that this recipe worked GREAT!
It was funny going in to Lowe’s and asking for plaster of paris. First, they didn’t know what it was. Then, when they were trying to figure out WHERE it was, they asked what I was using it for. I told them very seriously “Painting, but it’s really for walls. I’m just super unconventional.” And with that Sean just bust up laughing and the guys thought I was nuts. I mean really, like I know what I’m doing?!?
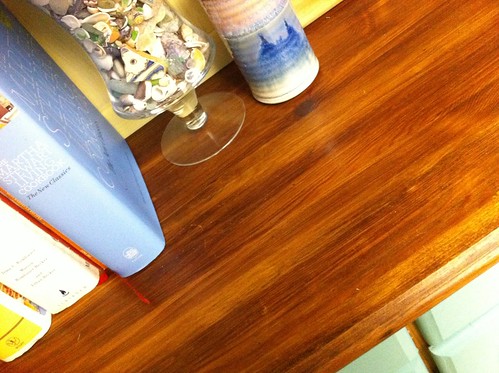
The other thing I wanted to do was leave the top of the console portion of the hutch a wood tone, but I decided to stain it. So that I did that first.
Then I started painting.
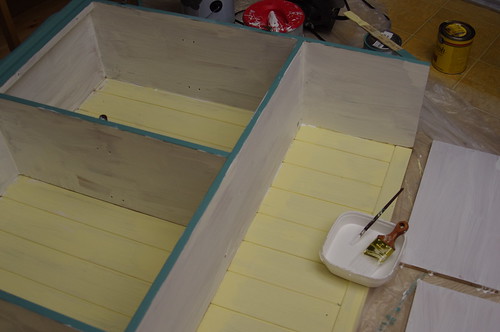
Here’s the top of the hutch at one coat, I used the little brush to get in to the grooves and corners:
Here’s a detail of the stained portion:
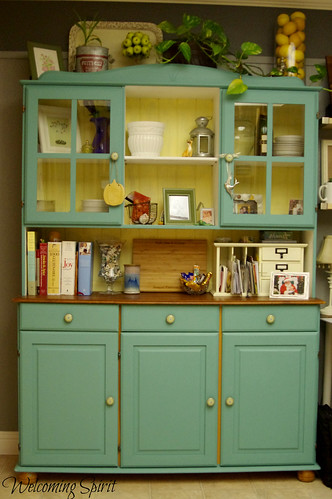
And, the finished hutch! I’m super excited about how well this turned out!
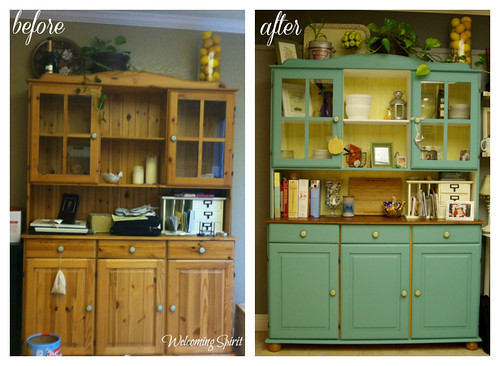
Here’s the before and after, side by side 🙂

 ?
?


Comments
2 responses to “Repainting a Hutch for the Kitchen”
You did a great job! That doesn’t even look like the same piece of furniture!
Thanks, Liz 🙂 I am blown away by the change myself!