Life got a bit nutso there for a bit. I got sick, then there were some layoffs at my company, and then I got sent off to Dallas. I was not let go, but my boss, and my dear friend Katey were. It hit me very hard; these are people I love dearly and had a big impact on my day to day life. I miss them.
In the midst of this, I’ve been working on the bedroom! So many of you posted many nice comments, and many of you asked about the bulletin board. Funny thing is, I started with that part of the room first.
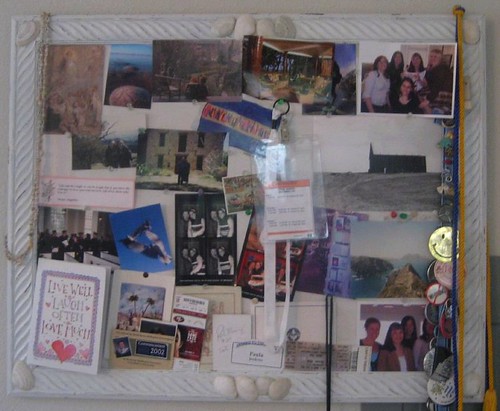
Here’s the old bulletin board. Why I didn’t take other “before” pictures, I can’t say, but I got this one:
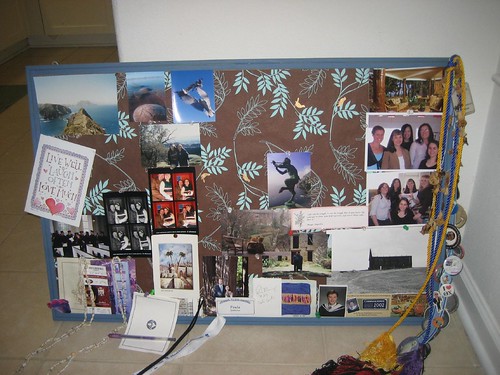
It’s fine, but it’s dated. So here’s what I did. I realized that I could probably purchase a frame on the cheap and re-vamp it to be a more stylish and grown up bulletin board.
After trying a couple of Goodwills, I landed at HomeGoods, which is owned by TJ Maxx. I rummaged through their clearance artwork, and happened upon this beauty. The glass was missing, and the frame itself is dinged and yucky. The art is OK, but not my style. And, the kicker? This guy cost $7. Seven bucks. Done!
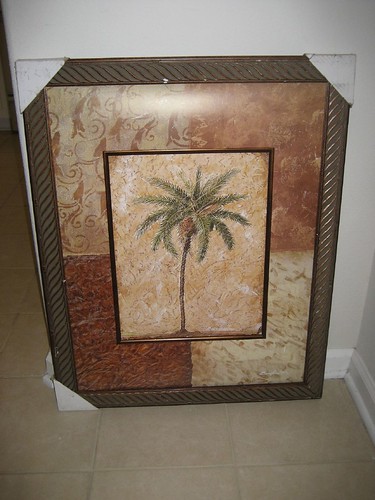
 The bones were there. I planned on gutting this thing and putting in a cork board behind it. I knew that you could get a snazzy pack of cork pieces from Target, and those ran about $6.
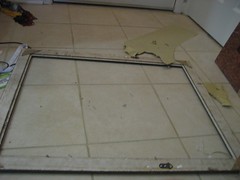
I got the “art” home and started working. First, I pulled the art out of the frame, which was backed by cardboard. Everything had been held in place by some small nails, so I pulled those out. After I saw what I had, I decided I’d keep the cardboard (as well as the frame)to use as the backing for the cork.
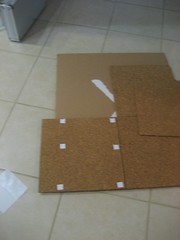 I put the cork from Target on the cardboard, piece by piece, and trimmed the extra cork away from the back. After all that was done, I decided to cover the cork with some white wrapping paper from Ikea, to hide the cork. I knew I was painting my frame white, so I wanted everything thing to blend in.
With the backing underway, it was time to get painting the frame itself. I picked white (Rust-oleum American Accents Blossom White) because I also had plans for the bedspread, and I wanted to even out the colors in the room.
Two coats later, the frame looked like this out on the patio: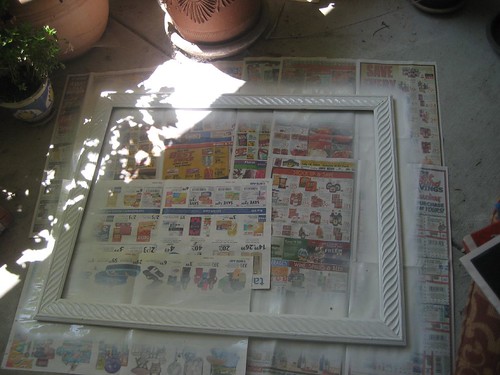
We’re almost there! Once the frame was almost dry, I took my fingernail to it, and scratched away some of the white paint to give it a more “rustic” finish. Thanks to Layla at the Lettered Cottage for that tip. She did that on a bed frame, and the results were fantastic. (And its so easy!)
To attach the cork board portion, I slid it in to place, with the white paper facing out, and used duct tape to hold it into place. Last thing, I put on some hanging mounts (the old “art” had been portrait/horizontal, but this would be hanging landscape/vertical.)
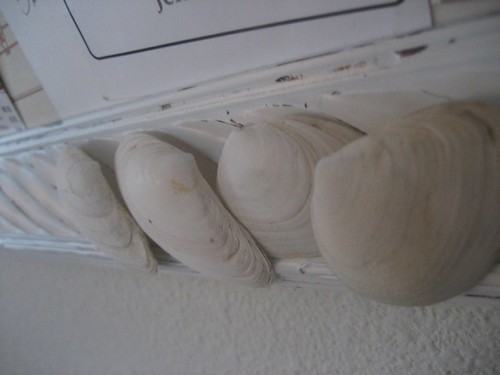
Today I glued some shells I found at the beach to the frame, I thought it was a nice nod to how my guy and I love walking the beach together and try to do it at least once a week.
And, here’s the finished product:
Details with the shells:
I’m pretty pleased. The grand total came to around $15, including the spray paint. Not bad!
So, what have all of you been up to? Any cool projects recently?